Particle System Design Fundamentals
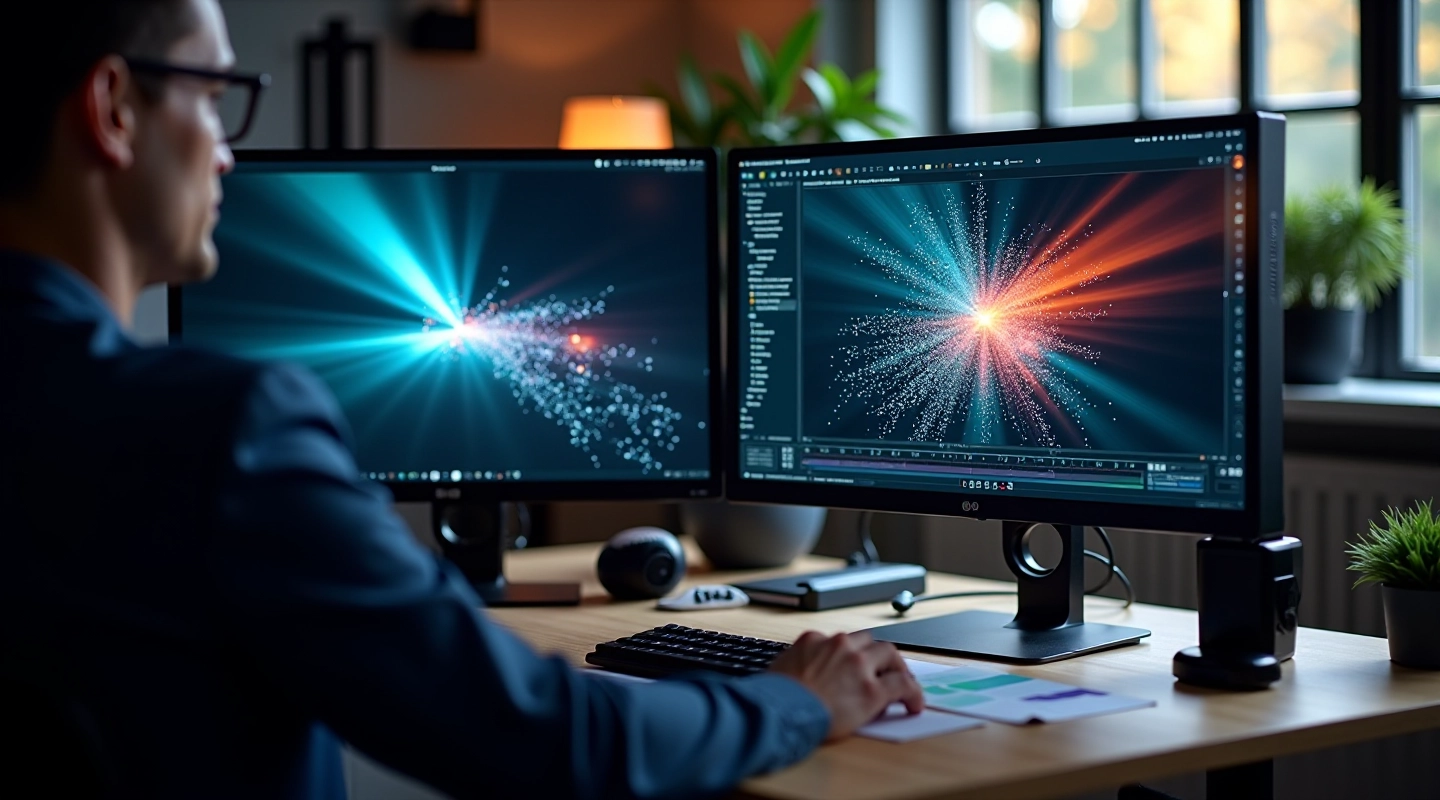
Learn how to build realistic particle effects from scratch. Covers emitter setup, force fields, and collision detection.
Step-by-step approach to integrating 3D camera tracking data into your compositing pipeline. Covers marker placement and troubleshooting common issues.
Getting your 3D elements to move with the camera is non-negotiable in modern VFX. It’s what separates amateur compositing from professional results. When your tracked camera matches your live-action footage perfectly, viewers don’t notice the work — they just see a seamless shot.
The process isn’t as intimidating as it sounds. We’re going to walk through everything: how to set up your tracking markers, how to solve tracking problems when they happen, and how to integrate that data into your compositing software. You’ll see exactly where things go wrong and how to fix them.
Accurate tracking starts on set. Poor marker placement leads to solving problems in post that could’ve been prevented. Spend the time upfront to get it right.
Your markers are the foundation of everything. You need enough of them spread across your scene so the tracking software can lock onto consistent features. We’re talking 12-20 markers minimum for a typical shot, though complex scenes might need more.
Place markers where they’ll stay visible throughout the shot. Avoid areas that’ll be obscured by moving objects or actors. Put them at different depths — some close to camera, some far back. This gives the solver depth information it needs to calculate accurate 3D position data.
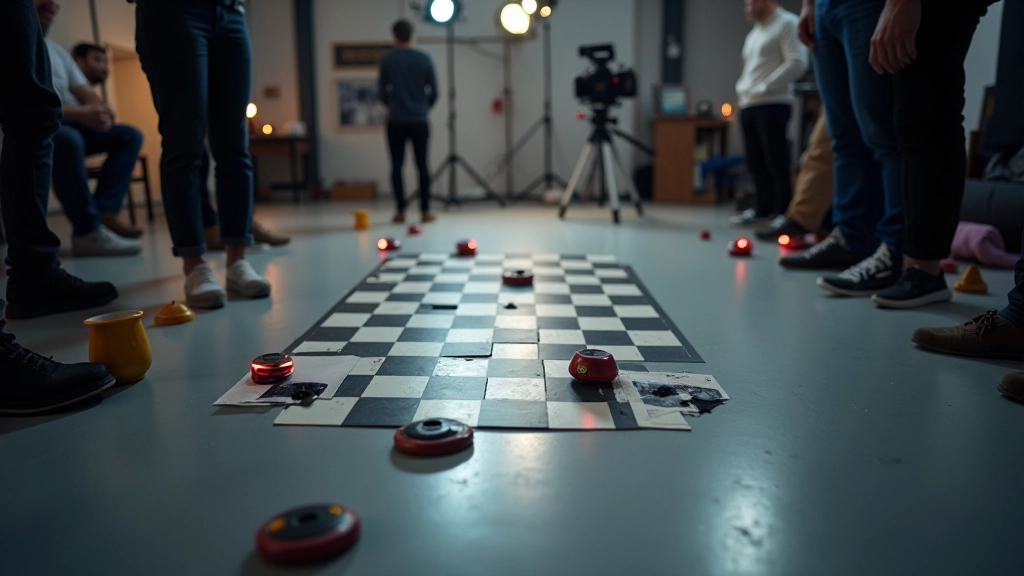
Use contrasting colors. If your scene is mostly bright, go with dark markers. Dark scene? Bright markers. Checkerboard patterns work better than solid colors because they give the tracking algorithm edges to latch onto.
Individual learning outcomes vary from person to person. Your tracking success depends on scene conditions, marker setup quality, and software familiarity. Results improve with practice and attention to detail on set.

Once you’ve got your markers tracked across all frames, the solver creates a 3D model of your camera’s movement. This is where tracking software earns its keep. It’s analyzing thousands of marker positions per frame, calculating where the camera was when each frame was shot.
The solver will occasionally fail on certain frames — usually because a marker got partially occluded or moved unexpectedly. You’ll need to manually adjust or delete those problem points. It’s tedious but necessary. A single bad point throws off the entire solve.
Once you’ve got a clean solve, export it as a camera file. Most compositing software reads standard formats. Then you’re bringing that solved camera into your 3D scene, matching it frame-for-frame with your original footage.
Drift is the big one. Your solved camera starts matching perfectly, then by frame 200 it’s visibly off. Usually this means you didn’t have enough depth variation in your markers. Add markers at different distances and re-solve.
Jitter — tiny frame-to-frame jumps — typically comes from markers being too small or tracked at low precision. Go back and refine those marker tracks. Sometimes you need to manually keyframe problem areas instead of trusting the automated tracking.
If your solve fails completely, you’ve either got too few markers, they’re poorly distributed, or the lighting’s too flat. Better to know this on set than in post. That’s why planning matters.
Scout the location. Identify where you’ll place markers based on scene depth and visibility throughout the shot.
Install 12-20+ tracking markers at varying depths. Use high-contrast colors. Document their placement for reference.
Import footage. Manually identify markers in first frame. Let auto-tracking handle the rest, then review and refine.
Run the 3D solver. Verify the solve looks clean. Fix any jitter or drift by adjusting markers or re-solving.
Export camera data in your compositing software’s format. Import into 3D scene. Match and test against original footage.
Camera tracking isn’t mysterious. It’s methodical. You set up markers properly, you solve carefully, you integrate accurately. Do those three things and your 3D elements will move exactly as the camera moved when the shot was filmed.
The real skill comes from experience — knowing when a solve looks right versus when something’s subtly wrong. That comes from doing it repeatedly. Start with simple setups. Graduate to complex scenes with lots of camera movement. Each project teaches you something about marker placement, about reading solve errors, about problem-solving in post.
Your next shot will be better than the last. That’s how this works.
Author
Editorial Team
Written by the MotionLab Cork editorial team, focused on practical, honest guidance for visual effects and motion graphics training.
Learn how to build realistic particle effects from scratch. Covers emitter setup, force fields, and collision detection.
Master the organization and management of complex compositing projects. Includes naming conventions and nesting strategies.
Discover color grading techniques that work specifically for motion graphics and visual effects compositing.