Camera Tracking Integration for Motion
Step-by-step approach to integrating 3D camera tracking data into your compositing projects.
Learn how to build realistic particle effects from scratch. Covers emitter setup, physics properties, and rendering optimization for motion projects.
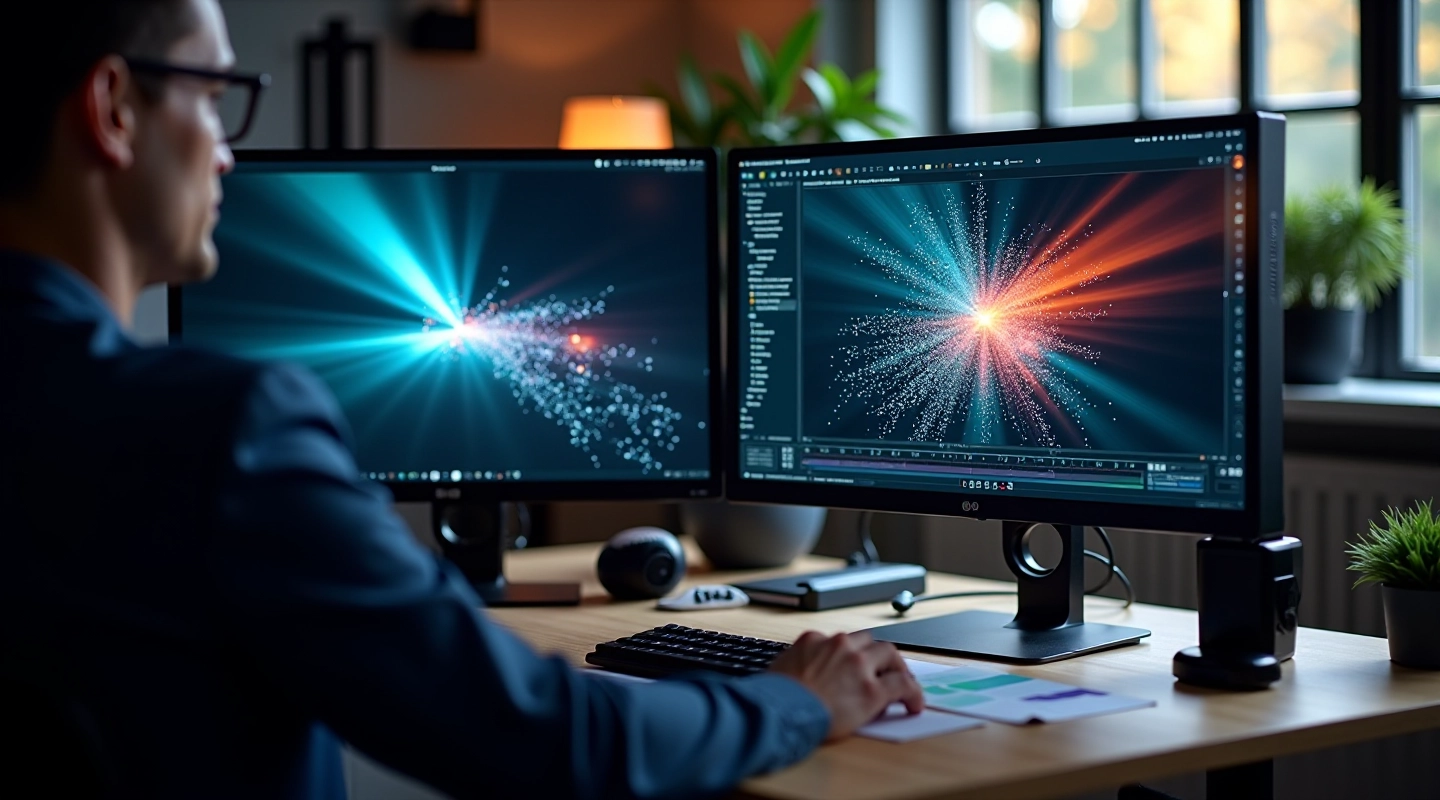
Particle systems are everywhere in motion graphics. They’re in explosions, smoke, rain, dust, fire — basically any effect that moves and changes over time. The thing is, they’re not magic. They’re just thousands of tiny objects following simple rules.
Understanding how to build them from scratch changes everything. You’ll stop being intimidated by complex effects and start seeing them as organized collections of smaller, manageable pieces. We’ll walk you through emitter setup, physics properties, and how to optimize rendering so your timeline doesn’t slow to a crawl.
How to set up emission points, control particle birth rates, and manage initial velocity.
Gravity, drag, collision, and forces that make particles behave realistically.
Techniques to keep frame rates smooth even with thousands of particles on screen.
The emitter is where particles come to life. Think of it as a birth point. You define where particles spawn, how fast they come out, and in what direction. Get this right and the rest gets easier.
Start with these core settings: emission rate (particles per second), initial velocity (how fast they launch), and spread angle (how wide the burst spreads). Most particle systems use a rate between 50-500 particles per second depending on the effect. A tight explosion might fire 200 particles in a 15-degree cone. A dust cloud might be gentler — maybe 80 particles spreading in all directions.
Don’t skip the velocity variation either. If every particle moves at exactly the same speed, it looks robotic. Add 10-30% variation so particles naturally scatter. That’s the difference between a boring burst and something that feels alive.
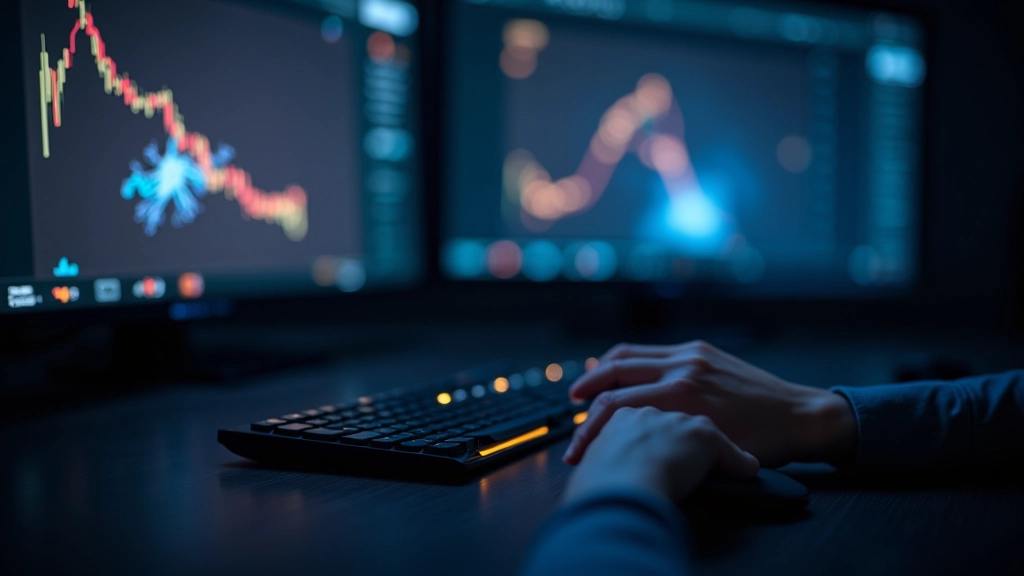
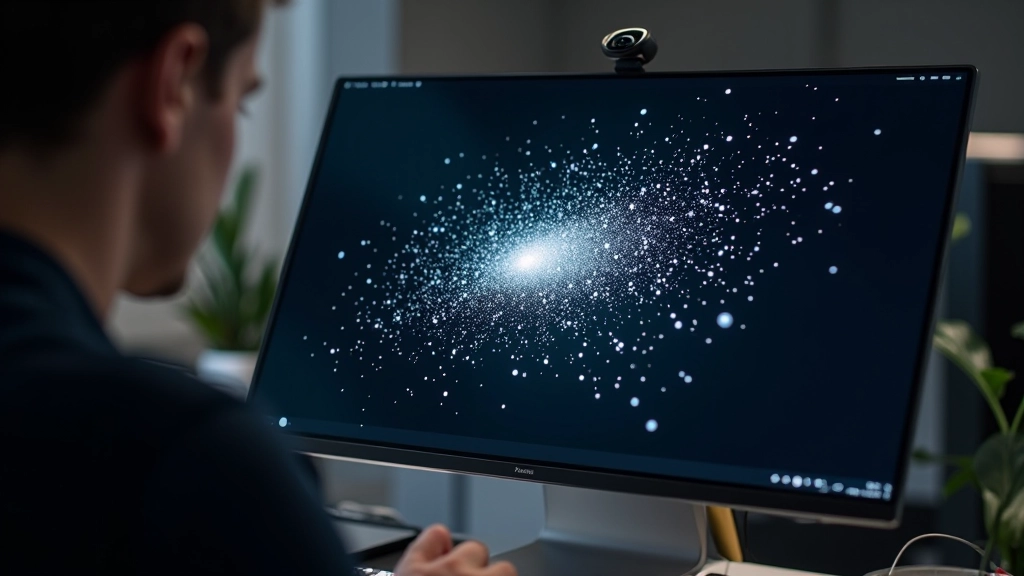
Once particles are born, physics takes over. Gravity pulls them down. Air resistance slows them. Collisions make them bounce. These forces are what make particles feel real instead of fake.
Gravity’s the obvious one. Most particle systems use Earth-like gravity (around 9.8 m/s² if you’re working in realistic units). But you don’t always need full gravity. Smoke particles might use 30% gravity — enough to settle downward, not enough to drop like rocks. Fire needs even less, maybe 10%, since heat carries it upward against gravity.
Drag is equally important. It’s air resistance. Without drag, particles would move forever at constant velocity. With drag set to 0.95-0.98, particles gradually slow down naturally. This is what makes rain look like rain instead of streaks. Drag values between 0.90-0.99 work for most effects.
Individual learning outcomes vary from person to person. The techniques described here are educational guidelines. Your results will depend on software choice, hardware capabilities, and practice time. Different motion graphics applications implement particle systems differently — always check your specific software’s documentation for exact parameter names and ranges.
Here’s where reality hits. A particle system with 5,000 particles running at 60fps looks great. A particle system with 50,000 particles? Your timeline becomes a slideshow. Optimization isn’t optional — it’s the difference between usable and unusable.
Start by understanding what costs performance: particle count, texture complexity, and effect complexity. A particle with a simple solid color is cheap. A particle with a detailed texture, multiple blend modes, and glow effects is expensive. Multiply that by thousands and you see the problem.
Smart tricks: use instancing instead of individual particles when possible. Use texture atlases instead of separate images. Reduce particle count in distant or blurred areas where detail doesn’t matter. Set particle lifespan limits so old particles disappear — don’t let them pile up forever. These changes alone can double your performance.
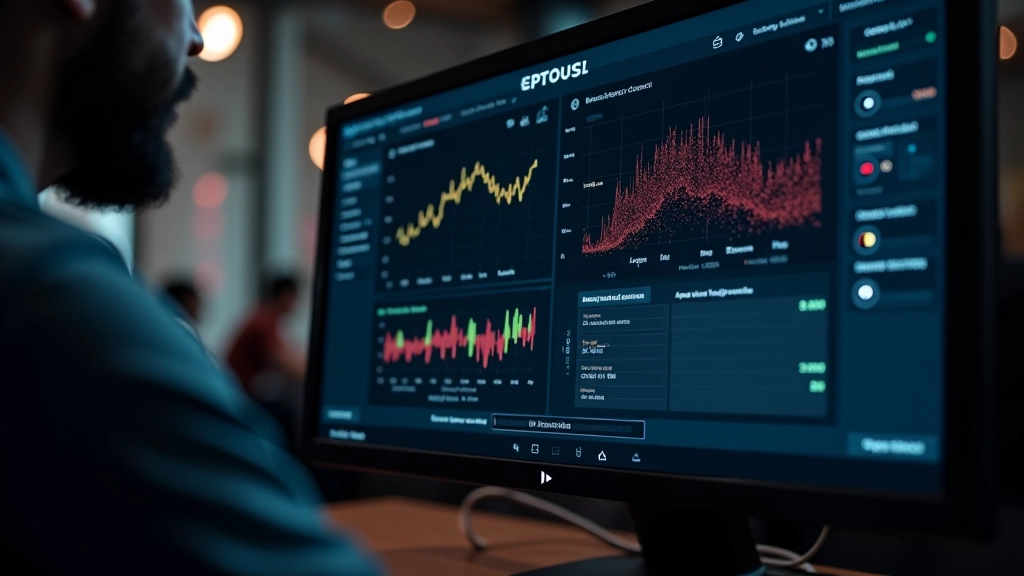
Build your first particle system with just emission and lifespan. No physics, no collisions. Get comfortable with the basics before adding complexity.
Change gravity, see what happens. Change drag, see what happens. Don’t adjust five parameters at once or you’ll lose track of what’s doing what.
Watch actual smoke, dust, and explosions. Record video on your phone. Notice how fast particles move, how they spread, how they settle. Copy what you see.
Once you get smoke looking right, save it as a preset. Same with fire, dust, and water effects. You’ll reuse these constantly and save hours of tweaking.
Build and render on the computer where the final project will live. Performance varies wildly between systems. What runs smooth on your workstation might choke on a laptop.
Keep notes on what settings worked. Write down emission rate, gravity value, drag coefficient. Six months later when you need the same effect, you won’t remember the exact numbers.
Particle systems aren’t complicated once you understand the pieces. Start with a solid emitter, add physics that matches reality, and optimize for performance. That’s the foundation.
The real learning happens when you sit down and build. You’ll find settings that work for your style. You’ll discover shortcuts. You’ll develop instincts about what values to try first. That takes practice, but it’s worth it. Good particle effects are the difference between amateur and professional motion graphics.
If you’re working in After Effects, Cinema 4D, Houdini, or any other software — the principles here apply. The button names might be different, but emitter setup, physics, and optimization are universal. Master these fundamentals and you’ll be able to create particle effects anywhere.
Editorial Team
Written by the MotionLab Cork editorial team, focused on practical, honest guidance for visual effects and motion graphics training. We believe in clear explanations without the marketing hype.
Step-by-step approach to integrating 3D camera tracking data into your compositing projects.
Master the organization and management of complex compositing projects for professional results.
Discover color grading techniques that work specifically for motion graphics and cinematic projects.