Compositing Layer Workflows Explained
Master the organization and management of complex compositing projects. We’ll walk you through layer naming conventions, grouping strategies, and best practices for team collaboration that actually work in real production environments.
Why Layer Organization Matters
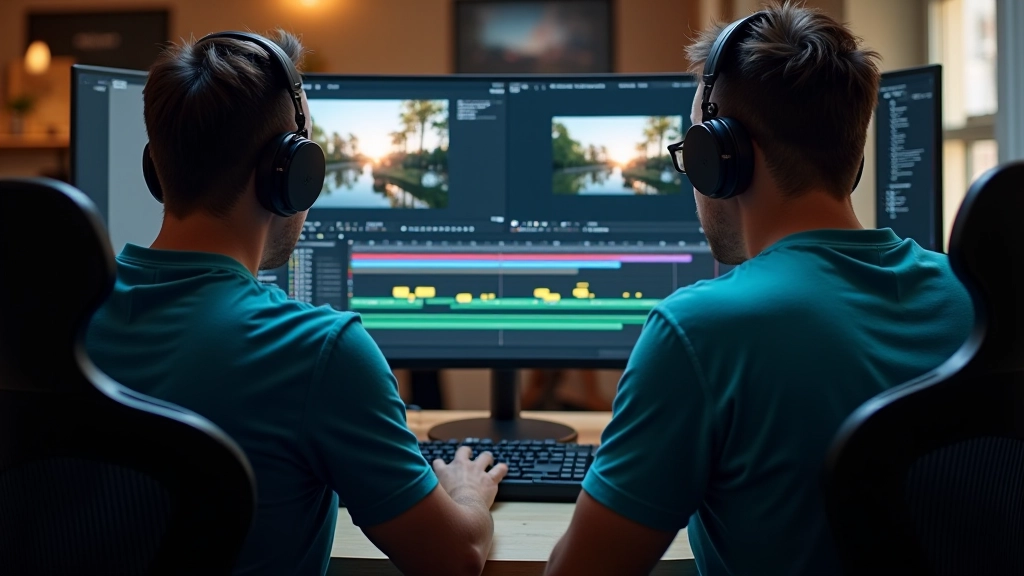
You’ve probably experienced it — opening a project file that’s been worked on by three different people, and the timeline looks like absolute chaos. Hundreds of layers with names like “layer 1 copy 3” and “NEW_FIX_FINAL”. It’s frustrating. More importantly, it costs you time.
A well-organized compositing project isn’t just about making things look neat. It’s about efficiency. It’s about being able to make changes at 4 p.m. without spending an hour hunting for the right layer. It’s about handing off work to a colleague and not having them send you an email asking “where’s the color correction layer?” It’s about version control that doesn’t make you want to pull your hair out.
The difference between a disorganized timeline and a well-structured one? About 30% of your total project time. That’s not a small number.
The Core Principle
Layer organization is a communication tool. You’re communicating with your future self, your team members, and anyone who inherits the project. Make it count.
Naming Conventions That Work
Let’s start with the foundation. Every single layer needs a name that tells you what it does, not what it looks like. “Red shape” tells you nothing. “BG_ColorCorrection_Overlay” tells you everything.
We use a three-part naming system that we’ve found works consistently across different projects and team sizes. First comes the content type — is it a footage layer, an adjustment, a shape, or a text element? Second is the function — what’s its purpose in the composite? Third is the layer order if there are multiples.
So you’d have: FTG_SkyPlate_01 for your first sky footage layer. ADJ_Curves_Shadows for your curves adjustment targeting shadows. TXT_Credits_Main for your primary credit text. The underscore separates each component, making it scannable at a glance. No spaces. No special characters that’ll cause compatibility issues. Just clean, functional naming.
It sounds rigid at first, but after about two projects it becomes automatic. And when you’re deep in production and juggling 200+ layers, you’ll be grateful for that consistency.
Grouping Strategies That Scale
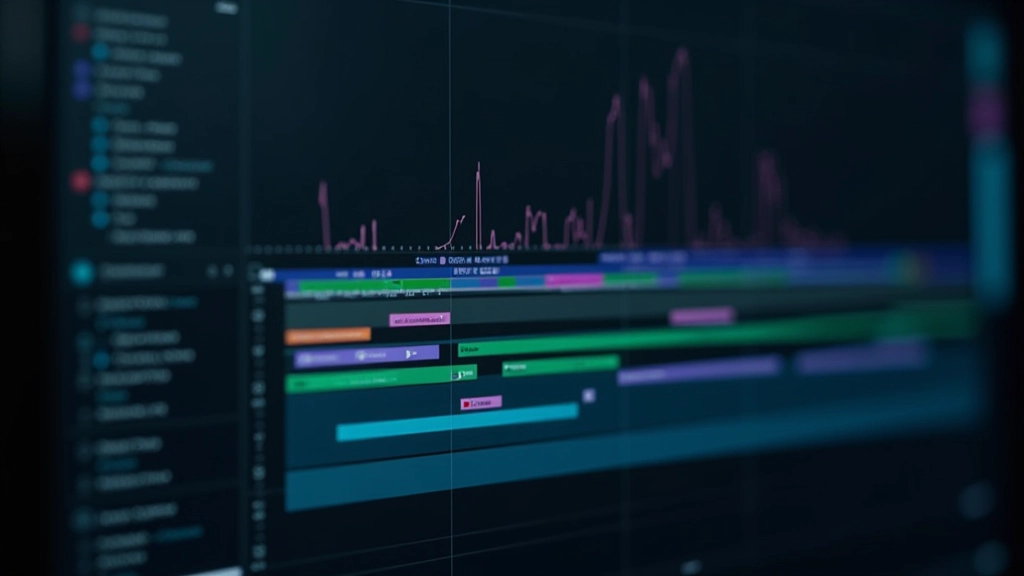
Once you’ve named your layers, you need to group them in a way that makes sense for your workflow. We organize by effect stage, not by content type. That means all your foundational elements go in one group, all your color work in another, all your effects in a third.
Why this approach? Because you work that way. You don’t work “all sky elements then all text then all effects.” You work “establish the base, color it, add effects, refine.” Organizing your groups to match your working process means you’re not constantly scrolling and hunting.
Create a group for “Foundation” containing your main footage and any supporting plates. Create one for “Color” containing all your curves, levels, and hue/saturation adjustments. Create one for “Effects” with your glows, particles, and motion blur. Create one for “Text” with all type layers and their support elements. Even on complex 500-layer projects, you’ve got structure you can navigate in seconds.
Lock groups you’re not actively working on. Disable visibility on groups you don’t need to see. This isn’t just organization — it’s actively reducing cognitive load so you can focus on the actual creative work.
Note: Individual learning outcomes and workflow preferences vary from person to person. These conventions work well for most projects, but don’t hesitate to adapt them to match your specific software, team size, or project requirements.
Collaboration in Shared Projects
This is where organization becomes absolutely critical. You’re not just working for yourself anymore. You’re creating a document that multiple people will touch, edit, and pass between each other. That requires discipline.
Establish version control before anyone opens the file. Decide now whether you’re using date-based versions (COMP_20260805_v02.aep) or milestone-based (COMP_ColorPass_v03.aep). Decide whether each artist gets their own layer group or whether you’re all editing shared groups. Decide who’s allowed to delete layers and who’s only allowed to add them.
Add a metadata layer at the very top of your timeline. Not visible, just informational. Put in who created the project, when, what software version it was built in, and what the intended output specs are. Add a “change log” text file or a memo layer that documents major changes. Six months later when someone asks “why is this layer named BG_Removed?” you’ve got the answer right there.
Color-code your layers by artist if you’re working in parallel. Red for Artist A, blue for Artist B. At a glance, you know who touched what. This prevents accidental overwrites and makes feedback conversations much clearer. “The blue color correction in the sky section needs to be warmer” is way more specific than “something about the color feels off.”
Practical Best Practices
Adjustment Layers First
Create your adjustment layer structure before you start any actual compositing. Having your color, effects, and shape hierarchy set up means you’re not restructuring mid-project. It’s like building the frame of a house before you start decorating.
Naming Updates Matter
When a layer’s purpose changes, rename it. “BG_SkyPlate_OLD” becomes “BG_Removed_Archive”. Yes, it takes five seconds. But that five seconds prevents someone from wasting 20 minutes wondering if they need to include that layer in the final export.
Nesting Depth Limit
Don’t nest groups more than three levels deep. Foundation Category Specific element is the maximum. Beyond that and you’ve created a navigation puzzle instead of a workflow aid. Your timeline should clarify your project, not obscure it.
Archive Regularly
Every few days, create an archive group at the bottom of your timeline. Throw old versions of things, disabled layers, and experiments in there. Keep your active timeline lean. When you need to reference something, it’s still there. When you don’t, it’s not cluttering your workspace.
The Payoff
Taking the time to organize your layers properly feels like it slows you down at first. You’re spending 20 minutes setting up naming conventions and group structures instead of jumping straight into the creative work. But here’s what actually happens — you recover that 20 minutes within the first hour of work. And you keep recovering it. Every time you need to find something, adjust something, or hand off work to someone else, you’re working 30% faster because your project isn’t a maze.
More importantly, you’re not frustrated. You’re not digging through 150 unnamed layers trying to find the one that controls the color. You’re not retracing your steps because you forgot what a layer does. You’re not discovering at 6 p.m. that the client’s requested change would require rebuilding half your project because it’s not organized in a way that supports changes.
Good organization is invisible when it works. You don’t notice it. You just notice that you’re moving faster, making cleaner decisions, and actually enjoying the compositing process instead of being bogged down in housekeeping. That’s the real payoff. Start with one project. Use these conventions. You’ll be surprised how much smoother everything flows.
MotionLab Cork Editorial Team
Editorial Team
Written by the MotionLab Cork editorial team, focused on practical, honest guidance for visual effects and motion graphics training.
Related Resources

Particle System Design Fundamentals
Learn how to build realistic particle effects from scratch. Covers emitter setup, velocity controls, and lifecycle management for natural-looking results.
Camera Tracking Integration for Motion
Step-by-step approach to integrating 3D camera tracking data into your compositing work. Solves the most common integration problems.
Color Grading for Motion Projects
Discover color grading techniques that work specifically for motion graphics and visual effects. Includes LUT workflows and shot matching strategies.