Color Grading for Motion Projects
Master the techniques that transform raw footage into cinema-quality visuals. We’ll walk you through color spaces, LUTs, and consistency workflows.
Why Color Grading Matters
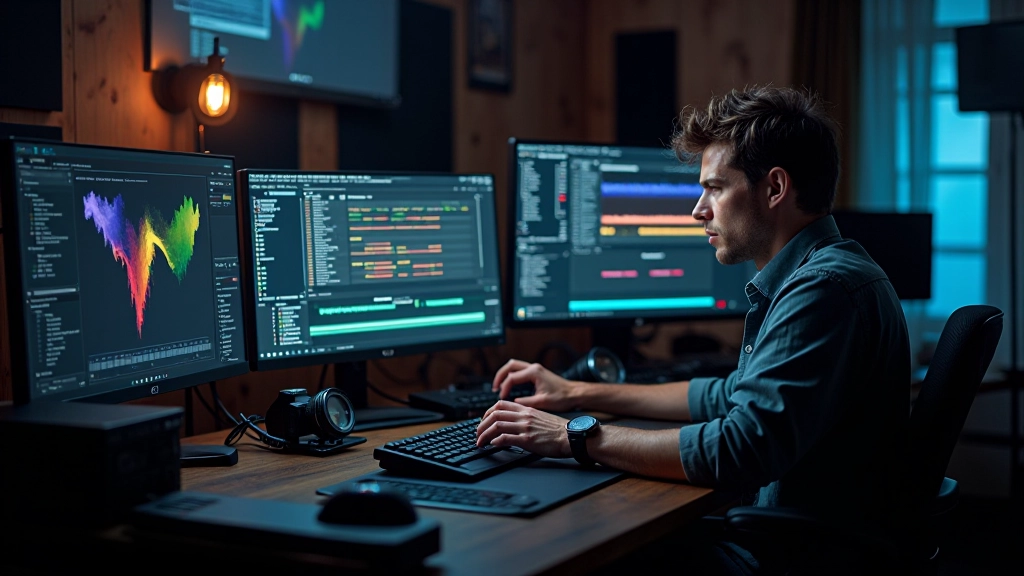
Color grading isn’t just about making things look pretty. It’s the difference between footage that feels flat and lifeless versus something that grabs attention and holds it. When you’re working on motion projects—whether it’s a short film, commercial, or title sequence—the colors you choose directly impact how viewers feel about what they’re watching.
We’re talking about mood, pacing, emotional response. A cool blue cast says something entirely different from warm oranges and reds. The right grade unifies your shots, fixes exposure problems, and creates a visual signature that makes your work stand out. That’s the power of understanding color.
Color Spaces
Understanding RGB, YUV, and LOG color spaces gives you control over your grade from capture to delivery.
LUT Workflows
Learn how lookup tables speed up your process and create consistent looks across multiple clips.
Sequence Consistency
Techniques for matching colors across shots so your edit flows smoothly without distracting jumps.
Understanding Your Color Space
Here’s the thing about color spaces: they’re not complicated, but they matter a lot. When your camera records footage, it captures color information in a specific format. Most cameras shoot in either standard video color space (Rec. 709) or LOG format, which preserves way more color information in the shadows and highlights.
LOG footage looks flat and desaturated right out of the camera—that’s intentional. It’s designed to give you maximum flexibility in post-production. You’re basically getting a negative that you’ll print in the grade. This means you’ll apply a LUT or manual adjustments to bring it to life, and you won’t lose detail in the process.
The difference is significant. Standard Rec. 709 is baked in—what you see is mostly what you get. LOG gives you breathing room. If you’re shooting a scene with bright windows and dark interiors, LOG will preserve detail in both areas, letting you recover it during grading.
- LOG formats (DaVinci, Sony S-Log, Panasonic V-Log) preserve 12+ stops of dynamic range
- Rec. 709 is pre-graded, requires less adjustment but offers less flexibility
- Always check your camera’s color space documentation before shooting
- Working in linear color space during compositing maintains mathematical accuracy
Individual Learning Outcomes Vary
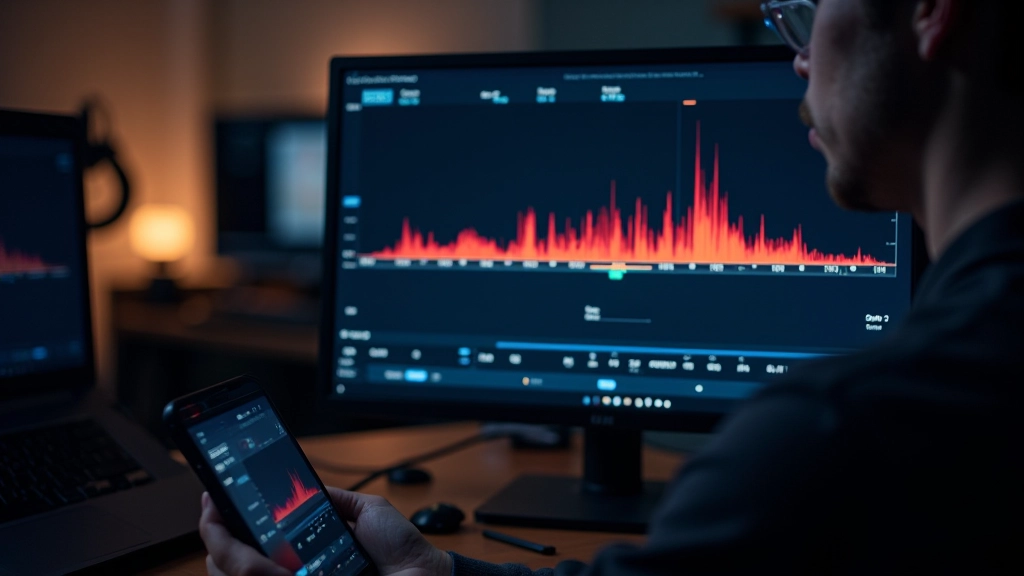
Color grading skills develop at different paces depending on your experience with editing software, your monitor setup, and how much time you spend practicing. What works perfectly on a calibrated reference monitor might look different on your laptop screen. That’s why we focus on the principles and techniques that work across different systems and environments.
Working with LUTs and Presets
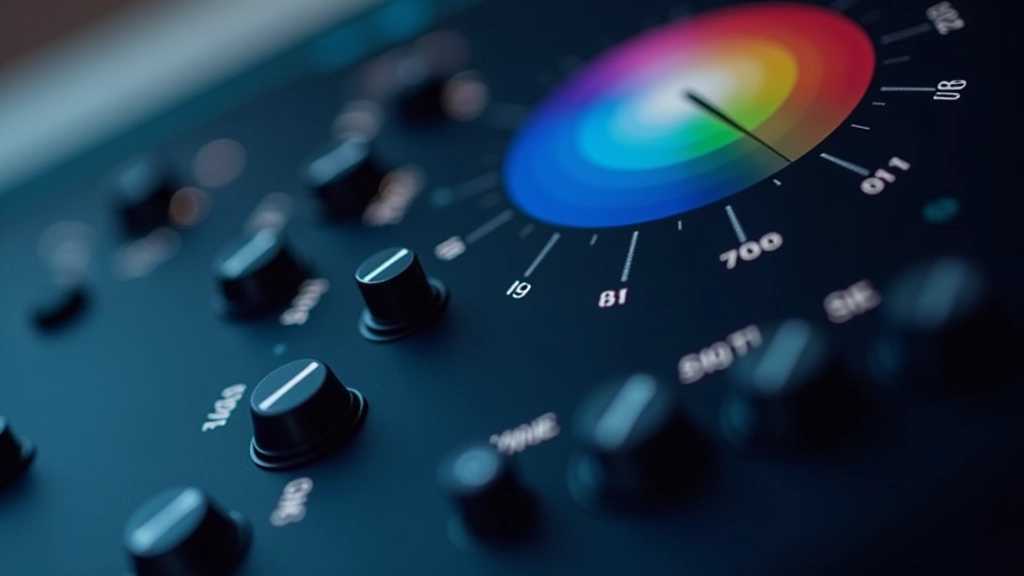
LUTs—lookup tables—are your secret weapon for speed. They’re essentially mathematical instructions that remap one color to another. Apply a LUT to flat LOG footage and it instantly becomes a usable image with a specific look. A good LUT does the heavy lifting, and you fine-tune from there.
You can start with a LUT designed for your camera’s color science. DaVinci Resolve includes solid baseline LUTs, and plenty of third-party creators make excellent ones. Don’t just accept the first result, though. Layer multiple LUTs, adjust the strength, add secondary color corrections on top. The LUT is your starting point, not your finish line.
Building your own LUTs takes practice but pays dividends. When you’ve developed a house style—a specific color palette and treatment you apply across projects—you can export that as a LUT and apply it consistently. This is how studios maintain visual coherence across episodes or series.
Achieving Shot-to-Shot Consistency
One of the biggest challenges in color grading motion sequences is consistency. You’re working with multiple clips shot at different times, possibly under different lighting conditions, sometimes with different cameras. Your job is to make them feel like they belong together.
Start by establishing a reference frame—typically a well-exposed shot with skin tones or neutral colors. Grade that first, then use it as your baseline. Most grading software lets you match other clips to this reference using automatic color analysis tools. These won’t be perfect, but they’ll get you close, and then you make manual tweaks.
Don’t grade in isolation. Play back your entire sequence in real time, watch how the colors flow from shot to shot. A slightly cool image can work beautifully if it’s followed by a slightly warm image—the contrast is intentional. But a chaotic jump between colors pulls viewers out of the story. That’s what you’re preventing.
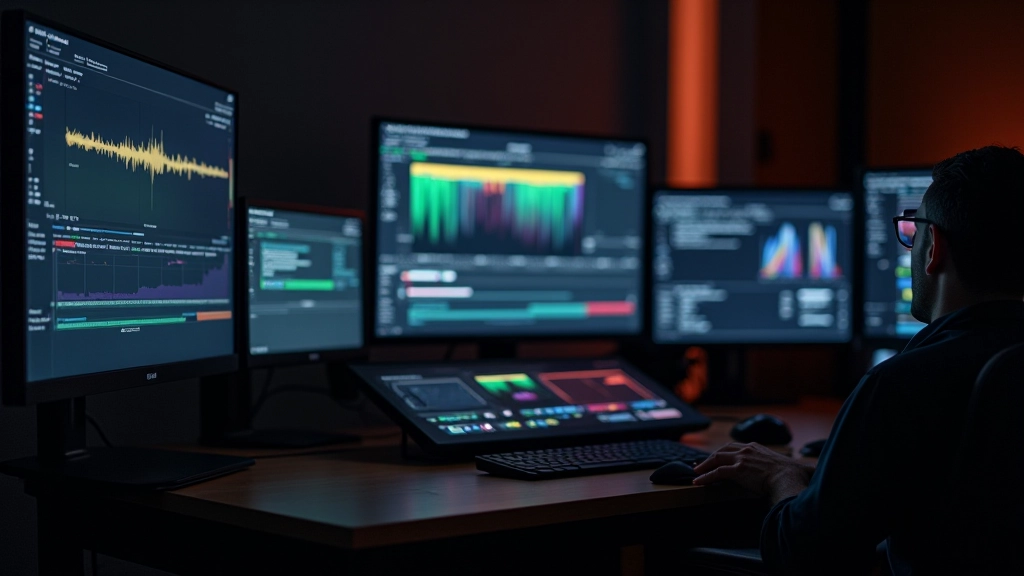
Use scopes. Waveform monitors and vectorscopes aren’t just for broadcast compliance—they’re diagnostic tools. If your blacks are creeping up or your colors are shifting unexpectedly, the scopes will show you immediately. Train your eye to read them, and you’ll grade faster and more accurately.
Essential Techniques for Motion Work
Primary Grade First
Always start with primary corrections—adjusting overall exposure, contrast, and white balance. Get your blacks, mids, and highlights dialed in before you move to secondary color work. This foundation makes everything else easier.
Secondary Color Isolation
Once your primary is solid, use hue ranges to isolate and adjust specific colors. Want to make skies more dramatic? Shift the blues. Need skin tones to glow? Target the oranges and reds independently without affecting the rest of the image.
Window Dressing
Use power windows to selectively grade regions of your frame. Brighten a face without brightening the background. Enhance color in one area while keeping others neutral. This precision separates good grades from great ones.
Monitoring and Delivery
Always grade on a properly calibrated monitor in a controlled lighting environment. When you’re finished, verify your grade against broadcast standards or delivery specifications. What looks good on your screen needs to translate correctly to the final output format.
Getting Started with Color Grading
Color grading is a skill that improves with practice. Start simple—download some free sample footage in LOG format, load it into DaVinci Resolve or your preferred software, and experiment with LUTs. See what happens when you adjust shadows versus highlights. Watch how hue shifts change the mood. You’ll develop an intuition for what works.
Don’t overthink it. Professional colorists spend years perfecting their craft, but you don’t need that level of expertise to produce work you’re proud of. Focus on the fundamentals: understand your color space, use LUTs as a starting point, match shots consistently, and always check your work on proper monitoring. The rest comes naturally.
Keep learning, keep grading, keep pushing your skills forward. The more you practice these techniques, the faster and more confident you’ll become. Your motion projects will look sharper, feel more intentional, and connect better with your audience.
About the Author
MotionLab Cork Editorial Team
Editorial Team
Written by the MotionLab Cork editorial team, focused on practical, honest guidance for visual effects and motion graphics training. We’ve been teaching since 2019, and we know what actually works.
Related Articles

Particle System Design Fundamentals
Learn how to build realistic particle effects from scratch. Covers emitter setup, physics simulation, and optimization techniques.
Camera Tracking Integration for Motion
Step-by-step approach to integrating 3D camera tracking data into your compositing pipeline. Match virtual elements to real footage seamlessly.
Compositing Layer Workflows Explained
Master the organization and management of complex compositing projects. Build efficient node structures that scale with project complexity.